How to Design Custom Enamel Pins: A Complete Step-by-Step Guide
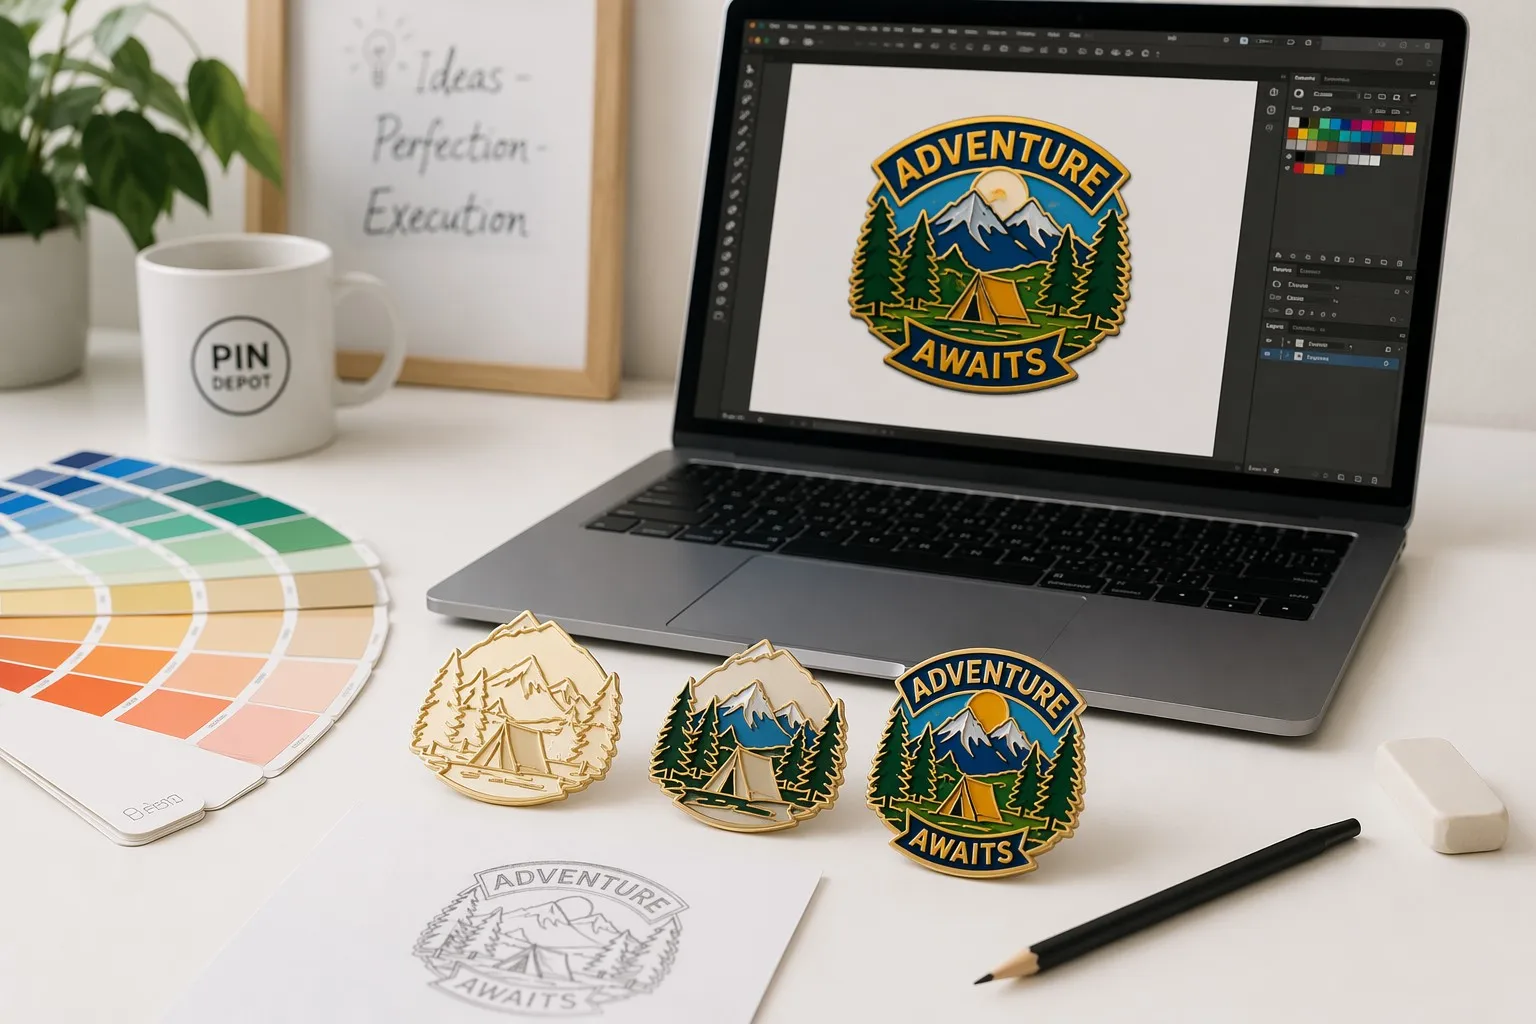
Custom enamel pins are one of the most effective ways to showcase your brand, commemorate an event, or create unique merchandise. But turning your idea into a polished, production-ready pin design requires more than just a rough sketch. This guide walks you through every step — from concept to manufacturer handoff — so your pins come out exactly as you imagined.
Already decided between soft and hard enamel? Jump to our Soft Enamel vs Hard Enamel Pins Buyer Guide to pick the right material first.
Step 1: Define Your Purpose & Audience
Before opening any design software, answer three questions:
- Who will wear this pin? Employees, event attendees, fans, or customers?
- Where will it be worn? Lapel, backpack, hat, lanyard, or displayed in a collection?
- What’s the goal? Brand awareness, fundraising, team identity, or merchandise sales?
Your answers determine everything from size to finish. A corporate lapel pin for suits should be subtle and small (0.75–1 inch), while a fan merchandise pin for backpacks can be bold and up to 2 inches.
Step 2: Choose Between Soft Enamel vs Hard Enamel
This decision shapes your entire design approach:
Design tip: Intricate color gradients work better with soft enamel because the recessed enamel areas naturally separate colors. Clean geometric logos look stunning in hard enamel with a jewelry-like finish.
For a deeper comparison, read our full enamel pin buyer guide.
Step 3: Design Tips for Enamel Pins
Use Vector Graphics
Always design in vector format (Adobe Illustrator, CorelDRAW, or free tools like Inkscape). Manufacturers need clean vector outlines to create the metal die mold. Raster images (JPG, PNG) require manual tracing and add cost.
Keep Line Thickness Above 0.3mm
Metal lines that are too thin can break during the stamping process. In your design file:
- Minimum metal line width: 0.3mm
- Minimum spacing between colors: 0.3mm
- Small text: at least 1.5mm tall to remain legible
Limit Your Color Count
Each color requires a separate enamel fill step. While there’s no hard limit, most custom orders use 4–8 colors for the best balance of detail and cost. For soft enamel, specify Pantone (PMS) color codes for accurate matching — don’t rely on screen colors alone.
Account for the Metal Border
Every color area in your design must be fully enclosed by metal lines. If two colors touch without a metal border, the enamel will bleed together during filling. Think of your design like a stained-glass window — metal is the frame.
Step 4: Select Metal Plating
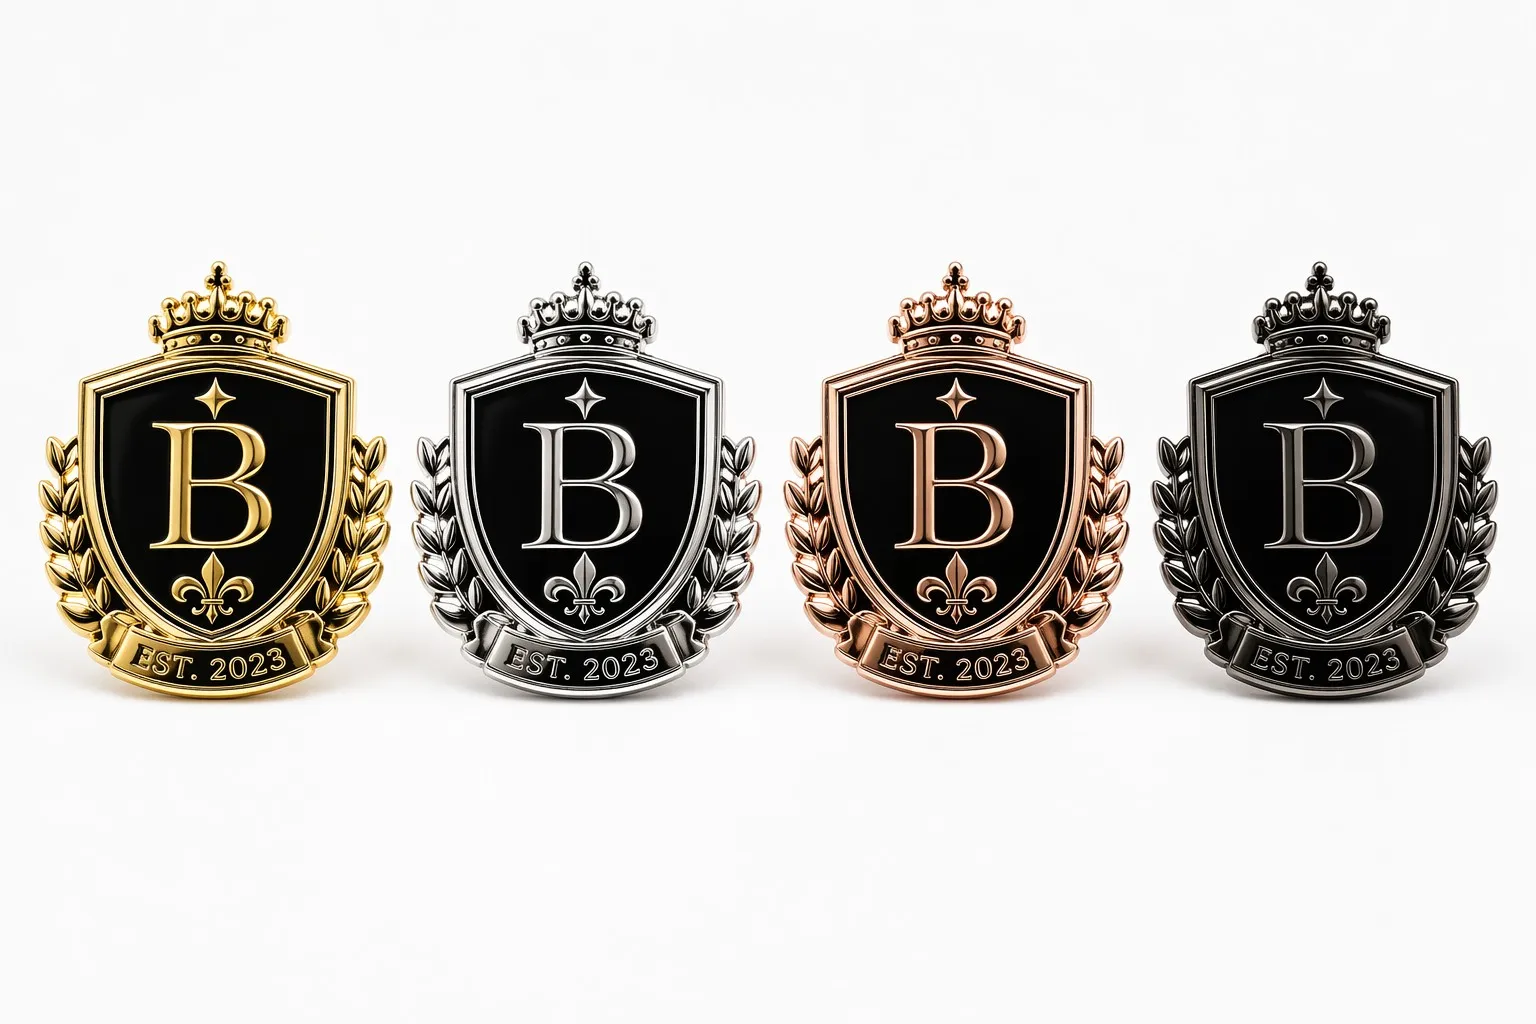
The metal finish dramatically changes your pin’s personality:
Gold and nickel are the most popular choices. Black nickel with hard enamel creates a striking high-contrast look for modern brands. Rose gold is trending in the fashion accessories market.
Step 5: Choose Pin Backing
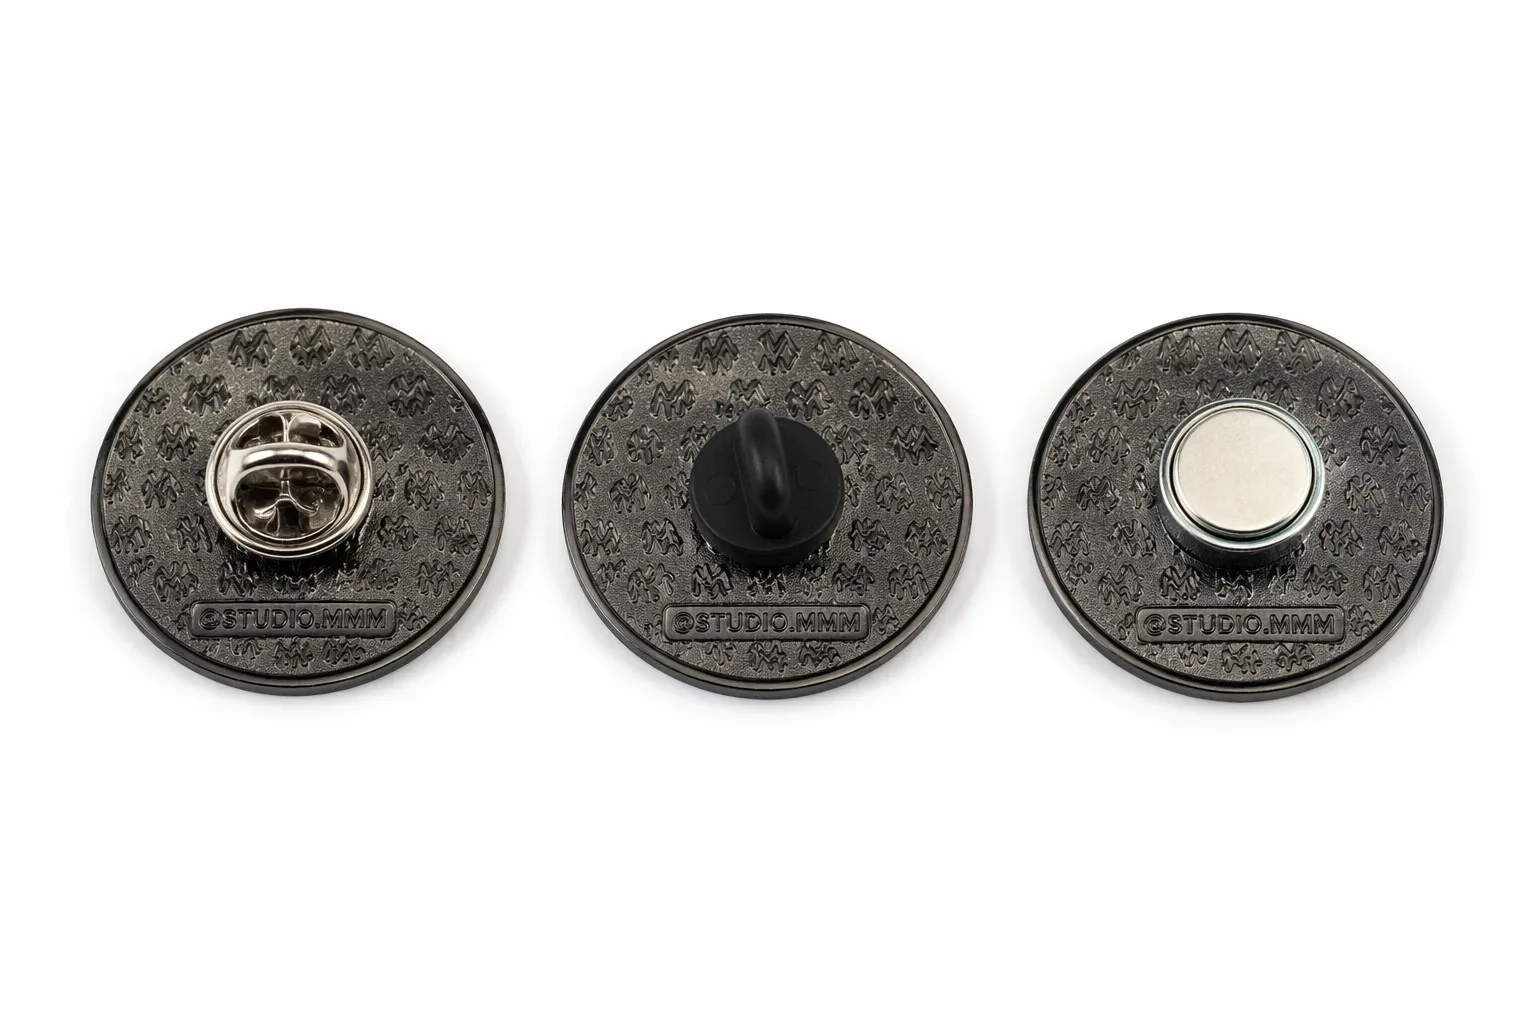
The backing affects how securely the pin stays attached and how easy it is to wear:
For corporate lapel pins, magnetic backs are popular because they don’t damage suit fabric. For convention merchandise, rubber clutches are preferred for their grip on backpacks and jackets.
Step 6: Size & Shape Considerations
Standard custom enamel pin sizes:
- 0.75–1 inch (20–25mm): Lapel pins, subtle corporate badges
- 1–1.5 inches (25–38mm): Most common — good detail, wearable size
- 1.5–2 inches (38–50mm): Statement pins, detailed designs
- 2+ inches (50mm+): Large collectibles, backpack patches
Die-cut (custom shape) pins are standard — you don’t need to fit your design into a circle or square. The manufacturer creates a custom metal mold from your outline, so your pin can be any silhouette.
Step 7: Prepare Files for Your Manufacturer
When you’re ready to order, send these files to your manufacturer:
- Vector file (AI, EPS, CDR, or PDF) — the master design with all color separations
- JPG/PNG reference — a color preview so the factory sees the intended final look
- Pantone color codes — list each color with its PMS number
- Size specification — exact dimensions in mm or inches
- Plating & backing notes — e.g., “Gold plating, rubber clutch”
A good manufacturer will send you a digital proof before production. Review it carefully — check colors, size, metal line thickness, and backing type. This is your last chance to make changes before the mold is cut.
Common Design Mistakes to Avoid
- Too much fine detail: Tiny text and hairline patterns may not stamp cleanly — simplify your design for metal production
- Unenclosed color areas: Colors without metal borders will bleed — every color needs its own metal-walled cell
- Screen colors ≠ enamel colors: Always use Pantone codes — what you see on screen rarely matches physical enamel
- Ignoring the metal color: Dark metal plating (black nickel) absorbs surrounding colors visually — test your palette against the metal you chose
FAQ About Custom Pin Design
Q: Can I use a hand-drawn sketch as my design?
Yes! Our design team can convert hand-drawn sketches into production-ready vector files. Just send a clear photo or scan, and we’ll handle the digitization at no extra cost.
Q: How many design revisions do I get?
We offer unlimited free proofs until you’re satisfied. We won’t start production until you approve the final proof.
Q: What file formats do you accept?
AI, EPS, PDF, CDR, PSD, JPG, and PNG. Vector files are preferred, but we can work from high-resolution raster images (300+ DPI).
Q: How long from design approval to delivery?
Standard production takes 7–10 working days after proof approval, plus 5–12 days for global shipping. Express shipping is available for tight deadlines.
Ready to Design Your Custom Enamel Pin?
Whether you have a finished vector file or just a rough idea on a napkin, our professional design team is here to help. We handle the entire process — from artwork refinement to mold making to final delivery.
Contact us for a free quote and let’s bring your pin design to life.
Browse our full custom enamel products collection for more inspiration.